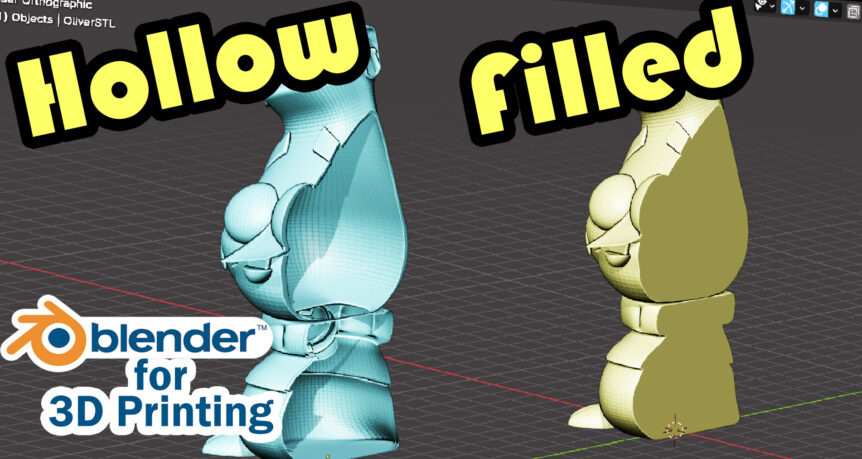
This video started as a quest for help on the 3D printing Tips and Tricks Google Group run by the guy who has the 3D Printing Today Podcast. What I told the user asking on that post was all they needed to do was:
- Import the hollowed 3D model into blender.
- Locate the drip hole, usually a hole on the bottom.
- Go into edit mode (Tab) and in vertex select mode (1) select all the vertices that make up the hole and delete (del) them.
- Then, while still in edit mode, Separate (P) the mesh->by parts.
- Exit edit mode (Tab).
- Select the body that’s the inside and delete it.
- Now you have the outside mesh, but with a big hole in the bottom, so select the outside mesh, go into edit mode (Tab) and alt-select one of the edges of the verts you deleted to select the whole loop of them. (Alternatively you can select->by Trait->Non Manifold, assuming the rest of the mesh is watertight.)
- Create a new face by pressing “F”.
However, as usual, it’s never that easy, because whoever hollowed this model messed it up bigtime.
With Christmas coming up I’ve been hesitant to release a few of the videos that I’ve got ready to go because they’re not Christmassy. I really should have worked on a Christmas video before this… but I have no excuse. But this means I’ll be starting 2024 with a little backlog. Not a lot, but enough to let me relax. Maybe I’ll use that time to up my production values and do a better job on those videos?
Or I could just play some Minecraft. Yeah, that sounds good. I have a save I haven’t checked in on in a while.

