
Introduction
By now you should be comfortable with moving objects in the 3D space and should have learned how to move objects without concern for the view by constraining the movement while moving. You can do this with keyboard shortcuts or with the gimbals provided by Blender 2.8. Just remember that following along and doing while you learn is the best way to develop that muscle memory and turn the idea of modeling into a skill.
Setting the Scene
To start, let’s clear the canvas. Create a new scene by File->New->General.
Clear the default by selecting everything (A), the deleting (X) all object.
Add (Shift+A) a Mesh->Monkey to the scene.
Learning to Rotate
Make sure you are viewing your scene from a non-planar angle so you can see all 3 directional axises. Also, be sure the monkey object is sleeted.
The next Transform command is Rotate. You can find this command, like the move command, in the menu in the upper left side of the 3D View. Looking at the Object->Transform->Rotate command you can see that the hot key for rotating objects is “R”.
If you click on the Rotate command and start moving your mouse, you’ll see the monkey start to turn. Finish the rotate at an angle different from the starting view.
Orbit your view around to inspect this rotation. Notice that the rotation is odd, like it’s rotated in multiple angles at once.
Like movement, rotation is effected by the angle of view when starting the command. The monkey was being rotated as though it were spinning around a pole that went from your eyes through the middle of the monkey.
Move (G) that monkey out of the way, placing it somewhere along the Y-Axis (Y) while moving it.
Add (Shift+A) a new Mesh->Monkey to the scene, and view this monkey from the top (Numpad 7).
Rotate (R) it around and stop the rotation anywhere, and notice that the monkey now is rotated vertically, like ti was spinning like a top.
You can experiment with other planar views to see similar effect. But like with movement, having to think about your view every time you want to do some rotation would still be too cumbersome. Fortunatly, there’s a better way.
Constraining Rotation
Constraining rotation, regardless of view, is very similar to constraining movement. Start by move (G) the last monkey out of the way, placing it somewhere along the Y-Axis (Y) while moving it.
Add (Shift+A) a new Mesh->Monkey to the scene.
Be sure your view is at a non-planar angle. Press “R” start the rotation. While the monkey is rotating press “Y” on your keyboard and move the mouse.
Now the monkey is rotating like a barrel roll. Before clicking to set the rotation, click “Z” to constrain the rotation to being like a top, then clikc “X” and see it tumble.
Complete that rotation by left-clicking on the mouse.Move (G) that monkey out of the way, placing it somewhere along the Y-Axis (Y) while moving it.
All-But Constraints
You may recall with movement that you had “All-But” constraints. For instance Shift-Z would constrain the movement to the X and Y. But what would that do for rotation? Take a second to guess at what will happen.
Now, let’s give it a try.
Add (Shift+A) a new Mesh->Monkey to the scene.
Be sure your view is at a non-planar angle. Press “R” start the rotation. While the monkey is rotating press “Shift-Z” on your keyboard and move the mouse.
How would you describe what’s happening? You constrained the movement to all but the Z, and yet, it looks like it’s rotating in the Z still. What did you predict would happen? The creators of Blender decided that rotating in the X and Y really is the same as rotating around the Z, so that’s what the All-But constraints do for Rotation. There’s really no difference between the normal constraint and the All-But constraint.
Also, the Rotation Gimbal
There is also a Rotation gimbal on the left hand side of the 3D view with allows for this sort of control in a graphical form. You can practice with that a little now if you’d like.
Learning to Scale
[To Be Written]Homework
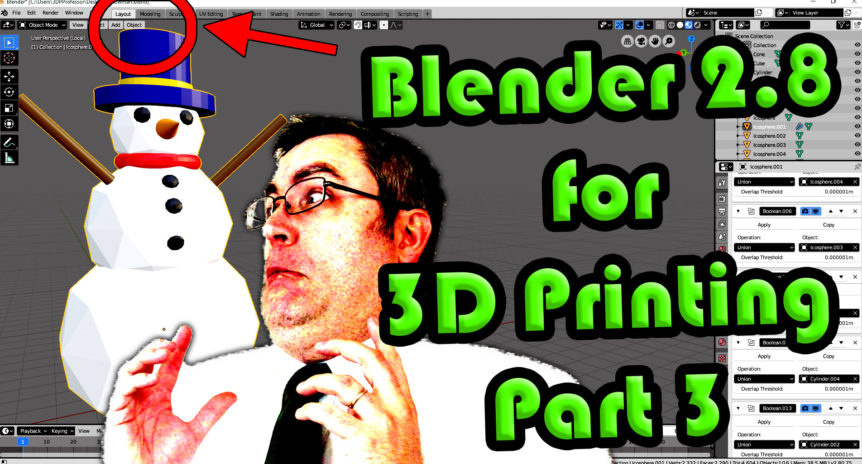
Now that you know how to Move, Rotate, and Scale, as well as adding objects to the view, you have all the tools you need to start putting objects together to make a composite object. So this homework assgnment is to use the basic mesh objects and create a snowman. Use UV Sphere’s or IcoSphere’s for the body, and make them different sizes, Use a Cone that’s been make long and thin for the nose and rotate it into place, and make squished Spheres for details like eyes and buttons. Feel free to add as much detail to your snowman as you like.
Remember to keep moving your view as you work. Sometimes an object looks like it’s in place from one view, but looks completely wrong when you orbit the view, so keep that view moving as you work.
YouTube Notes
Does this video seem choppy to you? As an experiment I recorded this video while streaming on Twitch. The goal of that stream was to answer a question from a poster in a previous video. Recording this video while doing that was kind of an afterthought. However, and I don’t know if this was a result of recording while streaming, or what, but the computer screen came out at a much lower frame rate, while my picture seems just fine. it’s like the opposite of into the Spiderverse, I’m animated smoothly, and the background is animated on the 2s.I really like the idea of this sort of quick interaction to help answer people’s questions and hopefully will do more of this in the future.