Note: As I was writing this up, I quickly realized this would be my new book project. So, over the coming days, I’ll be finishing this and eventually putting it together as a book. Which is a long way of saying excuse the incompleteness of this work right now.
Introduction
If you are into 3D printing, there comes a time when will want to print something that doesn’t exist, no matter how you search for it online. There will come a point where you must become (gasp) a 3d model maker. For most people tinkercad.com is a great place to start with this, but what happens when you hit a wall with Tinkercad and you need a modeling suite with a little more power.
My name is Joe and I’ve been using Blender to make models for 3D printing for nearly a decade.
Why Blender?
While many people start with Tinkercad, eventually you may run into a wall. Tinkercad is robust and capable, but it’s limited in it’s toolset. Perhaps you already know that Tinkercad isn’t for you, because you want to start with what you’re going to end with, so why bother learning something you’re not going to stick with? That’s fair. So when you’re ready to graduate from Tinkercad, in my opinion there are only 2 choices, especially if you’re on a limited budget right now: Fusion 360 and Blender.
To be fair to the critics, Blender isn’t a modeling for fabrication program like Fusion 360 is. Blender is an animation program. For some, myself included, that’s actually a positive. An animation suite like Blender can do 3d modeling, even 3d modeling for fabrication, and it can also create beautiful renders and animations and simulations, all within the same tool. The tools it provides allows for surface modeling, sculpting, and even has a robust set of modifiers to create parametric-like modeling that a cad package can’t touch. I think of Blender like a minivan. Sure, a van does the people moving better, and a pickup truck would be better for hauling cargo, and a commuter car would be better for the daily trip to work, but a minivan sits right in the middle. It’s capable of pivoting to whatever you need, and Blender can too. It can do CAD-like exactness, or organic shapes, or sculpting, all in the same tool. And the best part is the skills learned in one set of tools carry over to the next workflow, because it’s not 3 separate programs to do all these things, it’s just Blender.
However, the criticism that Blender is hard to learn is no longer valid. Yes, Blender 2.79 or less had some usability issues. But Blender 2.8 answers everyone who ever said that Blender was hard to learn with a sincere, but well meaning “thpppppt”.
And Blender comes with no strings attached. It’s a program, not a service, that is provided for free by the Blender foundation. If the Blender foundation shuts their doors tomorrow, you won’t be left without Blender, because it’s on your computer, and forever will be. And Blender doesn’t make you validate your account and prove that you’re just a hobbiest. Blender doesn’t care if you’re making $100k a year with Blender, it’s free for all. Sure, they’ll accept your support, and if you’re using Blender at a high enough level you should support them, but they don’t ask for that. They’re happy letting everyone use their tool and they’re doing a fantastic job providing the tools for free.
How to use this guide
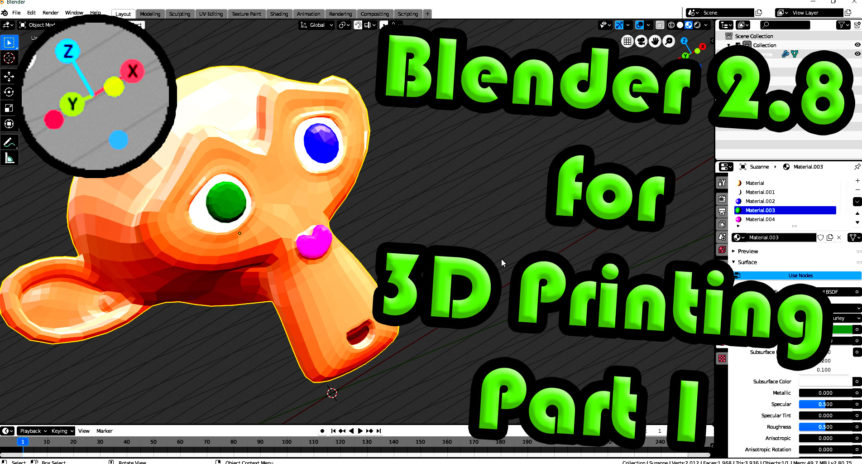
This set of lesson is meant to teach you Blender by doing. You really should go download Blender, install it, and follow along. This first lesson is all about manipulating the view. It’s also about Blender’s configurability and initial configuration, as well as where to look for commands in blender, and touching on adding and removing objects from the scene. But you won’t get as much from just reading or watching. You should really do. Getting good at anything is more than just knowledge in your brain, it’s practice in your hands. Muscle memory, as it’s sometimes called. You don’t build that by being passive.
So go to Blender.org, download Blender, and follow along.
First Time Startup
[To be written]Setting the Scene
[To be written]Manipulating the View
[To be written]YouTube Commentary
This video was actually weeks in the making. I kept recording it, and it would be just too long, so I cut down the scope, re-recorded it, and it somehow got even longer, then I cut down the scope even more expecting it to be 1/3 the length and it was only half. In the end I decided a 20 minute introduction would just have to do.
How you like my green screen YouTube? It’s really just some green fabric from JoAnne held up with some PVC piping, because that’s how I do. But it works. Getting the green screen to be vibrant enough for OBS to mask it out takes some color correction, but I think that just makes me look even better.

