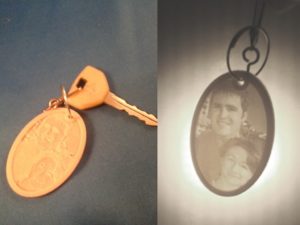
Lithophanes remain one of my favorite 3D printed projects. But discovering recently that Cura can made depth maps, and with only the slightest bit of cleverness they can be turned into lithophanes, I was thrilled. Not that there’s anything wrong with doing them the hard way. In fact doing them the hard way has a lot of benefits, not the least of which being that you can make them different shaped, like the key chain lithophane I carry around with me. Not to say this method couldn’t be used to make a lithphane like that. You’ve just got to be a little clever.
If you want to make a lithophane the easy way, all you do is:
- Edit your image file to Adjust->Auto Level the image (in Paint.NET, GIMP, or Photoshop)
- Set your background color to black
- Edit->Canvas size to 110% and set the anchor to the middle
- Save your edited image
- In cura, open your edited image
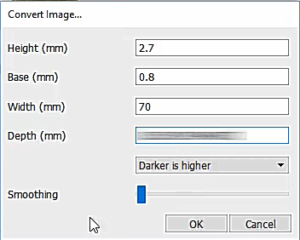
- In the menu that comes up adjust the settings like so:
- That “Darker is Higher” setting is key.
- Then, 3D print with 1 shell (wall thickness = nozzle diameter) and 100% infill.
And that’s all it takes to make a lithophane. But about that cleverness, if you wanted to edit the file and change the shape, I’ll give you a hint: You can, in Cura, save to an STL.
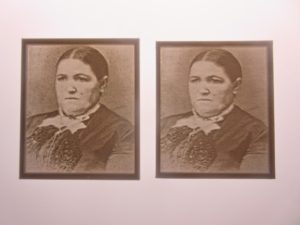 |
| Printed laying down vs printed standing up |
If you’re participating in the Children’s Hospital Christmas Tree project, that width of 70 is key for getting it to fit in the Christmas Light Lithophane Holder Clip.
This video, together with the last one, forms 2/3 of the first triad of videos. I consider this kind of a dry run for the future, a chance to work out the kinks. I can already tell that this isn’t the way I want it, on the output side, but recording a batch of videos at once is definitely an improvement in the workflow. Better and better, going forward.
