
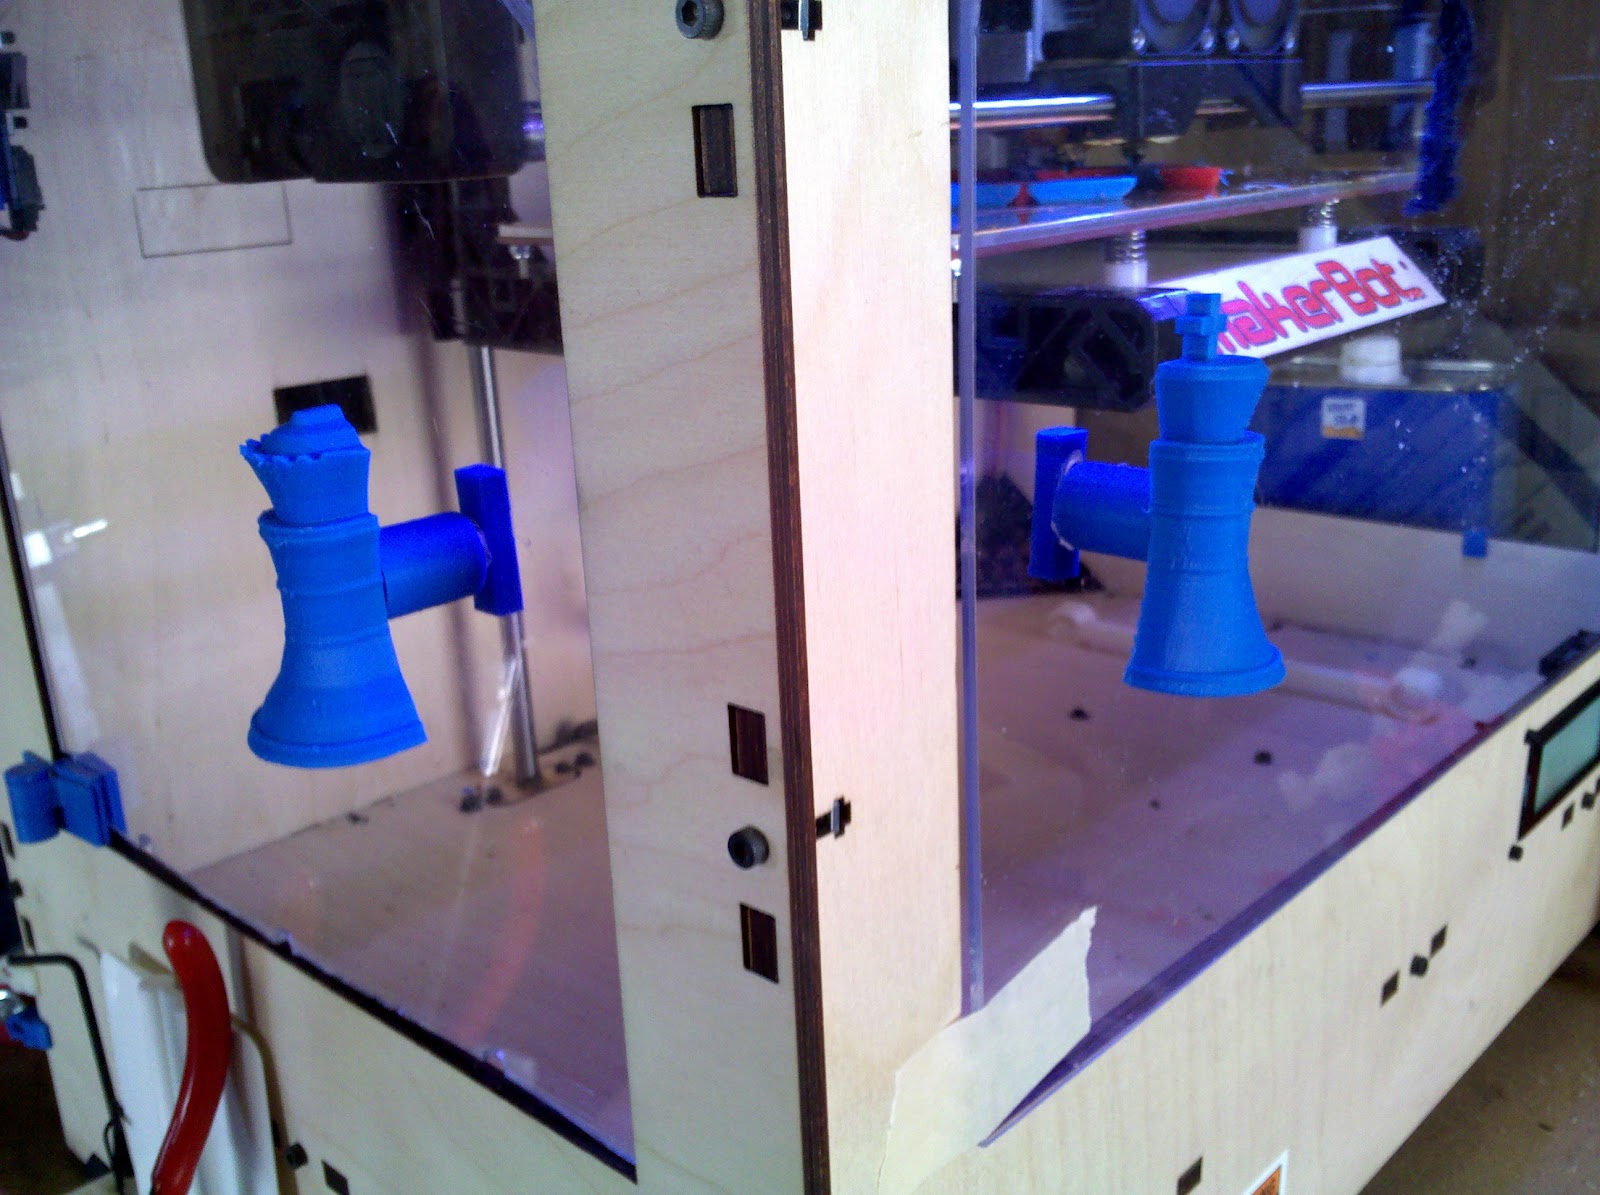
I finally finished enclosing my replicator. That is to say it’s fully enclosed, but it’s hardly done.

The cozy frame has been in place for a while, but with the sides open there wasn’t much reason to cover it. The cozy itself isn’t done, so I’m improvising with a beach towel for now. There are plexiglas acrylic sheet walls and doors held on with either phineasjw’s Door Panel Hinges or etrohn’s Side Panel Clips fully enclosing the build area. There’s no door latch in place so the door are only held in place by friction. That’s a future improvement. But I did design some nifty knobs for the hinged doors.
This was a learning process. Here’s what I learned:
- Acrylic sheets likes to crack. Especially when drilling holes in it.
- The Dremel is slightly more gentle than the regular drill if you can use it.
- The Dremel is also good for smoothing out rough edges but without a guide they tend to just make smoother rough edges, not perfectly flat ones.
- The 5-in-1 painter’s tool does a better job of scoring acrylic sheets than the $3 tool that I bought with the acrylic sheets.
- You can cover the 3 sides openings of a replicator with a $9 sheet of acrylic. Using a cozy is a great way to save on the acrylic sheet for the top.
- Enclosing your print area does not make curling go away. Rubbing down your build surface with acetone or abs glue does.
- The door handle hinges tend to not be able to support the weight of the door and come off. To counter this I drilled a hole in the top hinge and replicator and secured it with a bolt (pictured). After doing this and securing the hinge to the door with superglue the problem went away. The door is a bit more permanent now, but I managed not keep the glue away from the replicator body so I could scrap this in the future.

So far prints have succeeded with a higher rate and I’ve gained a bit of confidence. But time will tell.